Packages
Package
A module or a package is a unit added to your application for enhancement which includes routes, controllers, views, and configuration specifically. Packages are created to manage your large applications into smaller units. In DO Systemes, we have created plenty of packages at path packages/Webkul/. You can find a basic tree-structure of package below :
- module-name/
- src/
- Config/
- Contracts/
- Database/
- Events/
- Helpers/
- Http/
- Controllers/
- Middleware/
- Routes/
- Listeners/
- Models/
- Providers/
- ModuleServiceProvider.php
- EventServiceProvider.php
- Repositories/
- Resources/
- assets/
- lang/
- views/
- package.json
- webpack.mix.js
- src/
Package Development
Step 1 - Create folder structure
Inside packages folder, create a folder with your company name or namespace and inside it clone the starter package repo or create folder with your package name. e.g., here namespace is specified as DOSYS and packackage name is Blog
packages/DOSYS/Blog
If you clone the starter package (Recommended) just rename starter-package folder with your package name whiche is "Blog" in our case
Step 2 - Create Service Provider
Inside the Blog/src folder create "Providers" folder and inside it create php file with package name followed by service provider in our case it should be "BlogServiceProvider.php"
If you cloned the starter package just rename the file from "{PACKAGE-NAME}ServiceProvider.php" to "BlogServiceProvider.php"
Step 3 - Register views, routes and migrations paths
The Service Provider consists of two methods.
- Boot Method
- Register Method
        <?php
        namespace DOSYS\Blog\Providers;

        use Illuminate\Support\ServiceProvider;

        class BlogServiceProvider extends ServiceProvider
        {
            public function boot()
            {
                include __DIR__ . '/../Http/routes.php';

                $this->loadViewsFrom(__DIR__ . '/../resources/views', 'blog');

                $this->loadTranslationsFrom(__DIR__ . '/../resources/lang', 'blog');

                $this->loadMigrationsFrom(__DIR__ . '/../Database/Migrations');

            }
            public function register()
            {
                $this->mergeConfigFrom(
                    dirname(__DIR__) . '/Config/menu.php', 'menu.admin'
                );
                $this->mergeConfigFrom(
                    dirname(__DIR__) . '/Config/acl.php', 'acl'
                );
            }
        }
Step 4
As you see in "boot" function we import or load 4 files and directories lets create
- Inside the "src" directory create "Http" directory and inside it create "routes.php" this file will include package routes
- Inside the "src" directory create "resources" directory and insid it create "views" directory.give your views path a slug to call it with instead of writing full path each time. slug is the secound parameter of loadViewsFrom function in service provider file.
- Inside the "resources" directory you just created create "lang" directory. we will use this directory for translations. also give your lang path a slug to call it with instead of writing full path each time. slug is the secound parameter of loadTranslationFrom function in service provider file.
- Inside the "src" directory Create "Database"directory and inside it create "Migrations" directory.
As you see in "register" function we import or load 2 files lets them
- Inside the "src" directory create "Config" directory
- Inside the "Config" directory create
- "menu.php" we will use in defning admin menu items
- "acl.php" we will use in defning ACL items in admin
Step 5 - Create Admin view
lets creating first admin view inside "resourses/views" directory create views eg. craete admin directory and inside it create "index.blade.php"
    @extends('admin::layouts.content')

@section('page_title')
{{ __('{PACKAGE-SLUG}::app.blog.posts.title') }}
@stop


@section('content')

    <div class="content">
        <div class="page-header">
            <div class="page-title">
                <h1>Blog Posts</h1>
            </div>
            <div class="page-action">


                <a href="#create_route" class="btn btn-lg btn-primary">
                    Create Post
                </a>
            </div>
        </div>

        <div class="page-content">
            <p> Hello from the first admin view </p>
        </div>
    </div>


@stop
Step 6 - Create Routes
Create route to access the view we just created inside "Http/routes.php"
    <?php

Route::group(['middleware' => ['web','admin']], function () {
        Route::prefix('admin')->group(function () {
                Route::view('/blog','blog::index' )->name('blog.index');
        });
    });
Step 7 - Create admin menu item
Inside "Config/menu.php" lets define your menu items
        <?php

        return [
            [
                'key' => 'blog',          // uniquely defined key for menu-icon
                'name' => 'Blog',        //  name of menu-icon
                'route' => 'blog.index',  // the route for your menu-icon
                'sort' => 6,                    // Sort number on which your menu-icon should display
                'icon-class' => 'dashboard-icon',   //class of menu-icon
            ],
            [
                'key' => 'blog.posts',          // uniquely defined key for menu-icon
                'name' => 'Posts',        //  name of menu-icon
                'route' => 'blog.index',  // the route for your menu-icon
                'sort' => 1,                    // Sort number on which your menu-icon should display
                'icon-class' => '',   //class of menu-icon
            ]
        ];
Step 8 - Register package into the app
After creating awesome package we have to register it into our App to be able to use it
Register in composer.json
inside DO systems root directory you will find "composer.json" open it and register your package under auto-load "psr-4"
"DOSYS\\Blog\\": "packages/DOSYS/Blog/src"
Register in app.php
inside DO systems root directory you will find "Config/app.php" open it and add service provider class nder providers
DOSYS\Blog\Providers\BlogServiceProvider::class,
Dashboard Widgets
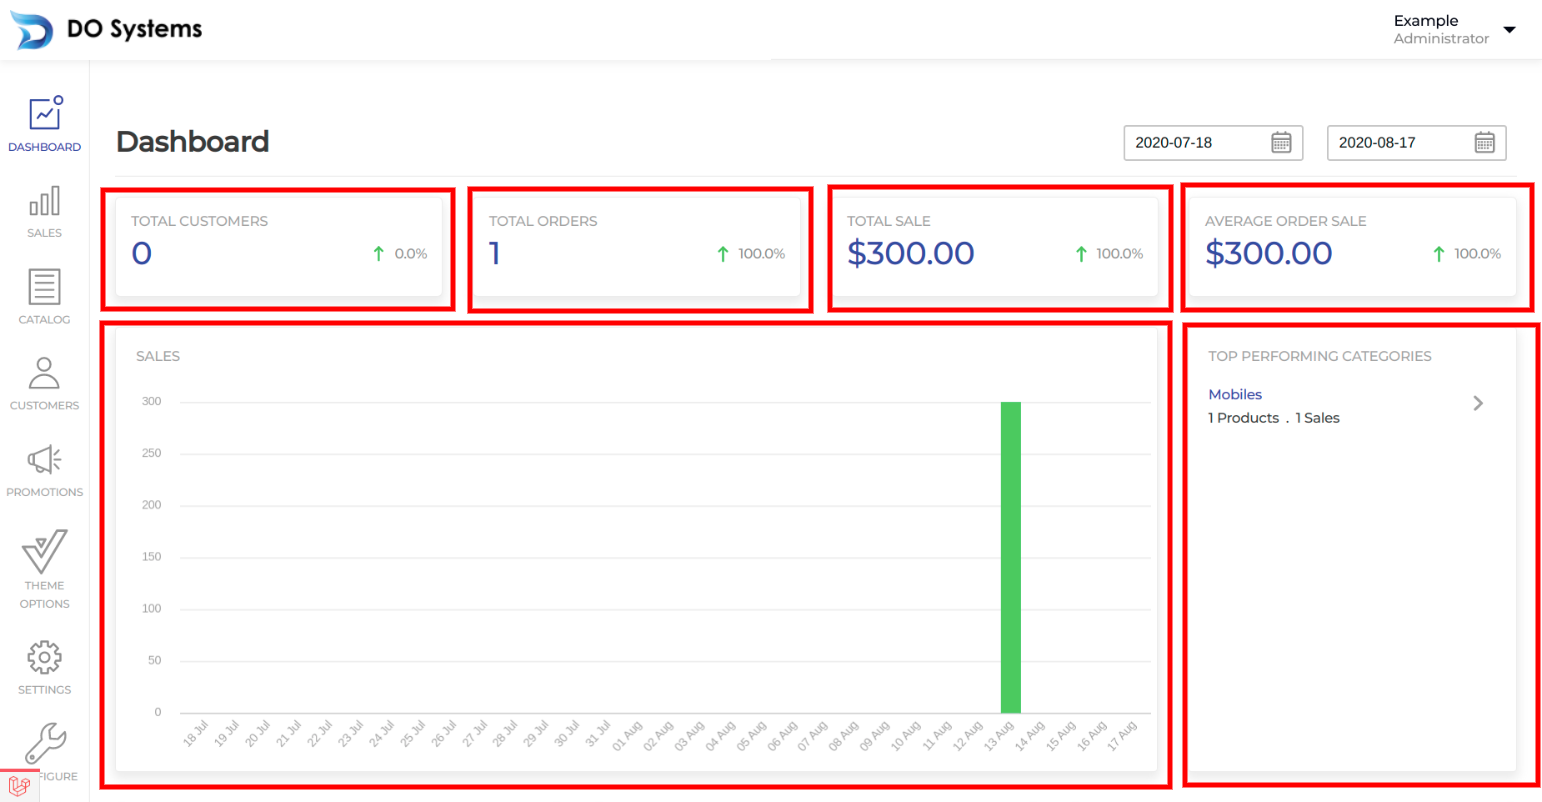
Intro to Dashboard Widgets
You can use dashboard widgets to show data from your package in admin dashboard as shown in screenshot below
Create Dashboard widget
Under src directory of your package create "Widgets" directory
Under "Widgets" directory create your widget file let say we need to create recent posts widgets eg. "recentPosts.php"
    <?php

namespace DOSYS\Blog\Widgets;

use Arrilot\Widgets\AbstractWidget;
use DOSYS\Blog\Models\{MODEL-NAME};

class Recentposts extends AbstractWidget
{
    /**
     * The configuration array.
     *
     * @var array
     */
    protected $config = [];

    /**
     * Treat this method as a controller action.
     * Return view() or other content to display.
     */
    public function run()
    {
        //
        $recents = {MODEL-NAME}::orderBy('created_at', 'desc')->take(2)->get();

        return view('blog::widgets.recentposts', [
            'config' => $this->config,
            'recents' => $recents
        ]);
    }
}
Create widget view
Under "resources/views/" create "widget s" directory and inside it create "recentpost.blade.php"
<div class="right-card-container category " >
    <div class="card" style="height:200px;">
        <div class="card-title">
            recent post
        </div>

        <div class="card-info {{ !count($recents) ? 'center' : '' }}">
            <ul>

                @foreach ($recents as $recent)

                    <li>
                        <a href="{{route('blog.edit',$recent->id)}}">
                            <div class="description">
                                <div class="name">
                                    {{  str_limit($recent->title,30,'...') }}
                                </div>
                            </div>

                            <span class="icon angle-right-icon"></span>
                        </a>
                    </li>

                @endforeach

            </ul>

            @if (! count($recents))

                <div class="no-result-found">

                    <i class="icon no-result-icon"></i>
                    <p>{{ __('admin::app.common.no-result-found') }}</p>

                </div>

            @endif
        </div>
    </div>
</div>
Register widget in your Service Provider
Open your service provider file under Providers Directory and add the following
use Widget;
In boot function add Widget
    app('arrilot.widget-namespaces')->registerNamespace('blog', '\DOSYS\Blog\Widgets');
    Widget::group('dashboard')->position(0)->addWidget('blog::Recentposts');
APIs Documentation
Generated Docs
To access generated APIs docs use
http://localhost/digital-order/public/api/documentationor
http://example.com/api/documentationTo access generated APIs docs use
php artisan l5-swagger:generate
Creating a Controller
To create a controller for a resource,
Step One
create a folder API in
Package\src\HTTP\Controllers.
Step Two
create HelloWorldController.php.
    <?php

    namespace Doffo\Package\Http\Cont
    use Webkul\API\Http\Controllers\Controller;

    class HelloWorldController extends Controller
    {
        //...
    }
Remeber to extend class Controller from
Webkul\API\Http\Controllers\Controller.
Step Three
Use sendSuccessResponse or
sendErrorResponse methods for your json response.
If needed,You can create a jsonResource
HelloWord.php in
Package\src\HTTP\Resources.
Step Four
Register your route in Package\src\HTTP\routes.php .